 Stamped Candles Materials:
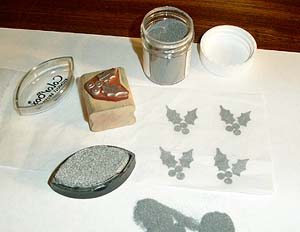
Embossing tools can be found with rubber-stamping supplies at craft stores. They're also sold as paint strippers. The tool costs about $20 to $30, and it's a very worthwhile investment if you do any type of stamped projects. With the tool and powder, you can get an raised texture that's very elegant on paper and makes this candle project possible. Embossing powders are only a dollar or two each, and they come in a rainbow of colors including fabulous metallics. Make sure to get some clear embossing powder because it works with every color of ink and always comes in handy.  To decorate candles with stamps, first stamp a design onto tissue paper. Rubber stamps with bold, clear lines or solid shapes work better than very finely detailed stamps. The embossing can smudge together fine details. Pigment ink is the best for embossing because it stays wet longer than ordinary ink. You can use ink the same color as the embossing powder or use different colors which may give unusual effects. Use tissue paper that is the same color as your candle or a shade lighter. This will keep the paper from showing. White paper on white candles is the easiest, but dark colors can work too.
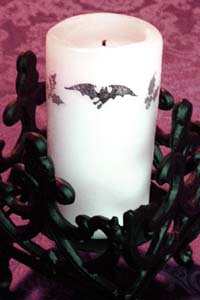
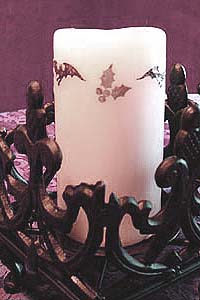
Place the embossed image on the candle. If the paper won't stay put, you can wet the edges of the paper a little to make it stick, or use a tiny bit of glue to hold it down. With the embossing tool held four to six inches away from the candle surface and directly above the tissue paper, gently warm the area over the stamped image. Do this carefully, until the wax slowly melts and absorbs the tissue paper, then turn off the heat. The design will then appear to blend into the candle. After all your stamped images are on the candle, the candle surface may have some drips and bumps or the melted areas may just look too noticeable. You can smooth this out by gently running the embossing tool over the whole candle, holding the tool about six inches away from the candle. Move the tool (or the candle) around to redistribute the wax as it melts. Be careful not to reheat the areas where your stamped images are -- the wax can loosen and the tissue paper may slip around. By gently warming the candle all the way around, you can get a soft, almost hand-dipped look.
 |
Gothic Martha Stewart Pages
starting : shopping : motifs : projects : weddings : notes
